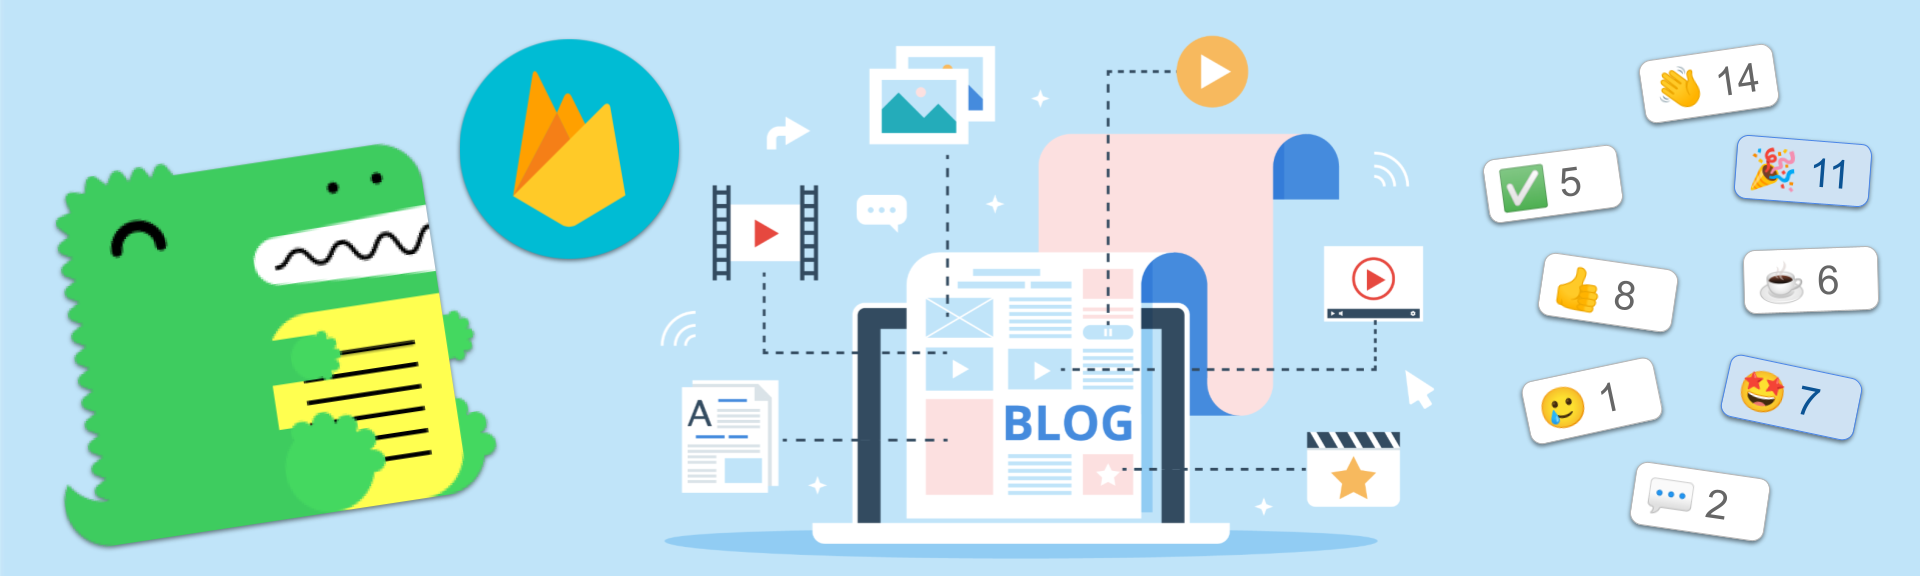
Our HeroMode blog is powered by Docusaurus, and we have added customizations over time to make it more dynamic and interactive. Previously we had added blog reactions to each blog post. For each blog, the post author can decide which emojis to include, as well as their titles. In this post, I describe how to add animations to the react titles, so that they truly feel like the Easter eggs that they are!
Many months ago I had described how to extend Docusaurus's blog functionality to support blog reactions. I liked having blog reactions so that readers can quickly express their feelings about a post. Later on I also described how we further customized the HeroMode blog to include a blog header, which also includes a subscribe button.
After implementing the blog reactions, I had wanted to make it more dynamic and animated. It took me a while to get around to it, but in the last Friday Hackathon, it was finally done! Let's see how it works.
Animated Reactions
Adding animation to blog reaction is actually quite simple. We just need to build on the customization we had already done. See our previous post for step-by-step details. And we also have the code for that post here.
In that post, we had created the customized components/ButtonReaction.js.
Here, we add a new component that is animated when the user clicks on a reaction
they had previously not clicked.
// ...
const TitleButton = styled.span`
  position: absolute;
  top: 0;
  left: 0;
  font-size: 12px;
  border: 1px solid ${Colors.grey400};
  border-radius: 8px;
  background: ${Colors.yellow100};
  color: ${Colors.grey800};
  padding: 0.24em 0.6em;
  white-space: nowrap;
  z-index: 999;

  @keyframes popUpAnimation {
    from {
      opacity: 1;
      transform: translateY(-10px);
    }
    to {
      opacity: 0.6;
      transform: translateY(-48px);
    }
  }
  animation: popUpAnimation 1.5s ease-in-out;
`;

export default function ButtonReaction({
  slug,
  title,
  reaction,
  reactionCounts,
  setReactionCounts,
}) {
  const isActive = getReactionStateLocal(slug, reaction);
  const ButtonComponent = isActive ? ActiveButton : InactiveButton;
  const [popUpVisible, setPopUpVisible] = React.useState(false);

  return (
    <div style={{ display: "inline-block", position: "relative" }}>
      {popUpVisible && <TitleButton>{title}</TitleButton>}
      <ButtonComponent
        title={title}
        onClick={() => {
          const newReactions = { ...reactionCounts };
          if (isActive) {
            newReactions[reaction] = newReactions[reaction] - 1;
            setReactionStateLocal(slug, reaction, false);
          } else {
            newReactions[reaction] = newReactions[reaction] + 1;
            setReactionStateLocal(slug, reaction, true);
            // Turn on PopUp
            setPopUpVisible(true);
            setTimeout(() => {
              setPopUpVisible(false);
            }, 1500);
          }
          setReactionCounts(() => newReactions);
          updateReactionsDB(slug, newReactions);
        }}
        type="button"
      >{`${reaction} ${reactionCounts[reaction]}`}</ButtonComponent>
    </div>
  );
}
Now when I clicks on a reaction, a pop up appears with the reaction title. The available reactions and their titles are chosen by the post author. So both the post author and the reader can have some fun and express themselves.
A Swizzling Update
In order to support all these customizations, we had previously performed component swizzling. Swizzling is very powerful since you can customize any component in Docusaurus. However, it comes with great responsibility, and updates to Docusaurus can break the component.
We've just updated from Docusaurus 2.0.1 to 2.4.1 and did not encounter any
issues! The components we swizzled haven't changed, so we didn't have to update
our swizzled components. However, we do have to check with each update.
One Year on Docusaurus
It's been almost a year since we have decided to use Docusaurus for the HeroMode
blog. So far we are still quite happy with it. Today I also discovered the new
headTags field that can be specified in the configuration file, introduced in 2.2.0 (which was the reason we updated). The
headTags field is very convenient for adding more tags inside the <head> tag
of the generated HTML. That's it for today; until next time!